2.2 - Routing
🎯 Objectives
- Implement basic route handling functions for an API, separating them from the main server logic.
- Construct a structured representation of routes in their mini-router.
- Parse an incoming HTTP request to extract both the route path and potential query parameters.
- Apply filtering and sorting concepts to modify data returned by an API route in response to query parameters.
- Register their route handler functions within the router to establish the association between URL patterns and actions.
🔨 Setup
-
Using the terminal, navigate to your
~/web-ii/exercises/folder. -
Go to the repository for this exercise and click
Code -> 📋to copy the URL.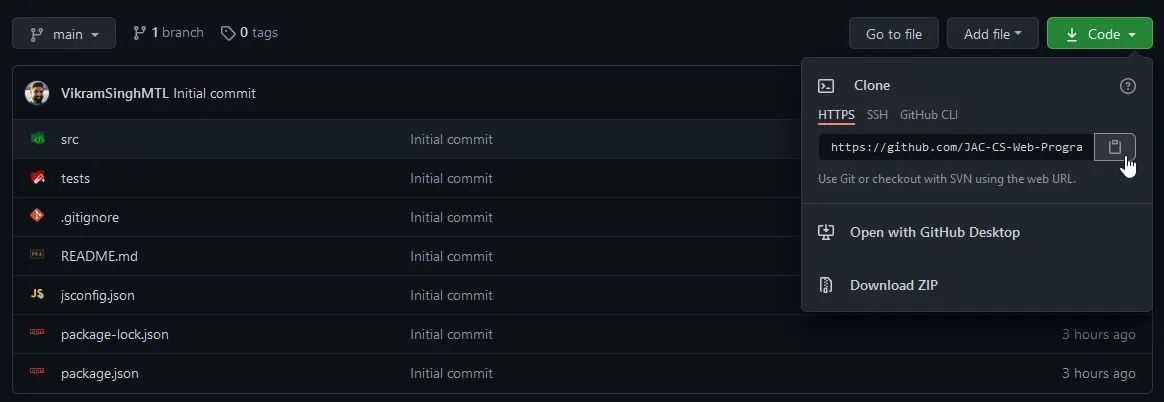
-
Clone the Git repo from the CLI
git clone <paste URL from GitHub>(without the angle brackets) or using a GUI client like GitHub Desktop.- You may have to use the
HTTPSorSSHURL to clone depending on your settings. If one doesn’t work, try the other by clickingUse SSHorUse HTTPSabove the 📋, and copy the new URL.
- You may have to use the
-
Rename the cloned folder to
~/web-ii/exercises/2.2-routing/. -
Start Docker Desktop.
-
In VS Code, hit
CMD/CTRL + SHIFT + Pand search + rundev container: open folder in container. -
In the terminal of VS Code, hit the
+icon to open a new terminal instance. Runlsto make sure you’re in the root directory of the exercise and that you seepackage.json. -
Run
npm installto install all our dependencies.
🔍 Context
- Navigating the Web: When you type a website address (URL) into your browser, your web app needs to figure out which part of its code ‘owns’ this request to generate the response you see.
- The Router’s Job: A router is like a smart traffic director within your web application. It looks at the incoming request’s “address” (the URL) and knows how to find the correct function to handle that specific request. Think of it as the switchboard operator connecting the user’s request to the right part of your code.
- Routes: Routes are pre-defined patterns your router looks for in the URL. Each route is like a map entry connecting:
- HTTP Method: How the user interacts (GET to view, POST to make something, etc.)
- Path: The part of the address like
/pokemonor/messages. These patterns may have dynamic parts to match data in a route (ex:/pokemon/:id) - Handler Function: The actual code snippet executing the logic needed: fetching data, updating something, showing the correct page!
🚦 Let’s Go
Part 1: Refactoring with Functions
Move each route-specific block under your giant if statement from the last exercise into its own function in controller.ts. These functions should take req (IncomingMessage) and res (ServerResponse) as arguments and return nothing (void).
/** * TODO: Copy the route handling logic from the previous exercise * into these functions. You will need to use the database array from * the model.ts file to handle the requests. */
export const getHome = (req: IncomingMessage, res: ServerResponse) => {  // Logic that was within the main if (req.method === "GET" && req.url === '/') block.};
export const getAllPokemon = (req: IncomingMessage, res: ServerResponse) => {  // Logic that was within the main if (req.method === "GET" && req.url === '/pokemon') block.};
// ... more route functions as per the previous exercise ...
Part 2: Route Data Structures & Registration
-
RouteHandlerInterface: A blueprint defining what a route handling function looks like. A route handler takes a request and response object. While it does not return anything, it is expected to send a response back to the client using the response object.server.ts interface RouteHandler {(req: IncomingMessage, res: ServerResponse): void;} -
RoutesInterface:- Nested structure - a top level organizing requests by GET, POST, etc.
- One level inner maps path strings (e.g.,
/pokemon) to a handler function - Emphasizes how request types (REST methods) and URL patterns lead to handler execution.
server.ts interface Routes {[method: string]: {[path: string]: RouteHandler;};} -
The
routesVariable:- Concrete realization of the
Routesinterface – your routes data object. - The routes object is a dictionary of HTTP methods. Each HTTP method is a dictionary of routes. Each route is a string that maps to a route handling function.
server.ts const routes: Routes = {GET: {},POST: {},PUT: {},DELETE: {},}; - Concrete realization of the
-
Registration: Route registration is the process of adding a route to the routes object. Populate the routes object by placing function references, e.g., the
getAllPokemonfunction you made, into these slots to establish paths.server.ts routes.GET["/"] = getHome;routes.GET["/pokemon/:id"] = getOnePokemon;routes.POST["/pokemon"] = createPokemon;// TODO: Add the remaining routes to the routes object.
Testing
Using cURL, test all your routes to ensure everything is working so far. For example:
curl -v http://localhost:3000/pokemon
curl -v http://localhost:3000/pokemon/1
curl -v -X POST -H "Content-Type: application/json" -d '{"name": "Bulbasaur", "type": "Grass"}' http://localhost:3000/pokemon
curl -v -X PUT -H "Content-Type: application/json" -d '{"type": "Poison"}' http://localhost:3000/pokemon/2
curl -v -X DELETE http://localhost:3000/pokemon/1
Part 3: Filtering & Sorting
Modify the GET /pokemon route so it can take additional options (query parameters) to filter and sort the Pokemon in the “database”.
-
Understand Query Parameters:
- Review how query strings work. They start with a ’?’ in the URL. Example:
/pokemon?type=Fire&sortBy=name. - Each key-value pair is separated by
&. Keys (liketypeandsortBy) tell you what data the user wants to control. The values (like “Fire”) are the specific choice they’ve made.
- Review how query strings work. They start with a ’?’ in the URL. Example:
-
Parsing with the ‘URL’ Class:
-
Import the
URLclass at the top ofcontrollers.ts:controller.ts import { URL } from 'url';import { IncomingMessage, ServerResponse } from "http";import { database } from "./model"; -
Inside
getAllPokemonextract relevant info:controller.ts const url = new URL(req.url!, `http://${req.headers.host}`);const queryParams = url.searchParams;
-
-
Reading Parameters:
-
Retrieve values with
.get():controller.ts const typeFilter = queryParams.get("type");const sortBy = queryParams.get("sortBy");
-
-
Filtering the ‘database’ Array:
-
Loop through the database array and construct a new array that contains the Pokemon objects that satisfy the filter condition. For example, if
type=Fire, then the new array should only contain fire-type Pokemon. -
If you want to be more fancy, try using JavaScript’s
.filter()method.controller.ts if (typeFilter) {// Filter by type...}
-
-
Sorting the Array:
-
Employ Javascript’s
.sort()with a comparison function.controller.ts if (sortBy === "name") {// Sort by name...}
-
📥 Submission
Perform the following cURL operations without the -v flag:
POSTa new/pokemon.GETthe/pokemon/2that was inserted.UPDATEthe/pokemon/2to have a different name.GETall the/pokemonto verify the name was changed.DELETEthe/pokemon/2.GETall/pokemon?type=Waterto get only Water Pokemon.GETall/pokemon?sortBy=nameto get all Pokemon sorted alphabetically by name.
Take a screenshot (or several if they all don’t fit in one) of the output so that I can see all statements were run successfully. Submit the screenshot you took to the Moodle dropbox for this exercise.