1.2 - Docker
🎯 Objectives
- Explain what Docker is and what it is used for.
- Set up a Docker container running a PostgreSQL database server.
- Connect to the PostgreSQL server with the PSQL client.
- Execute SQL statements on a PostgreSQL database.
🔨 Setup
-
Using the terminal, navigate to your
~/web-ii/exercises/folder that you created for the first three exercises. -
Go to the repository for this exercise and click
Code -> 📋to copy the URL.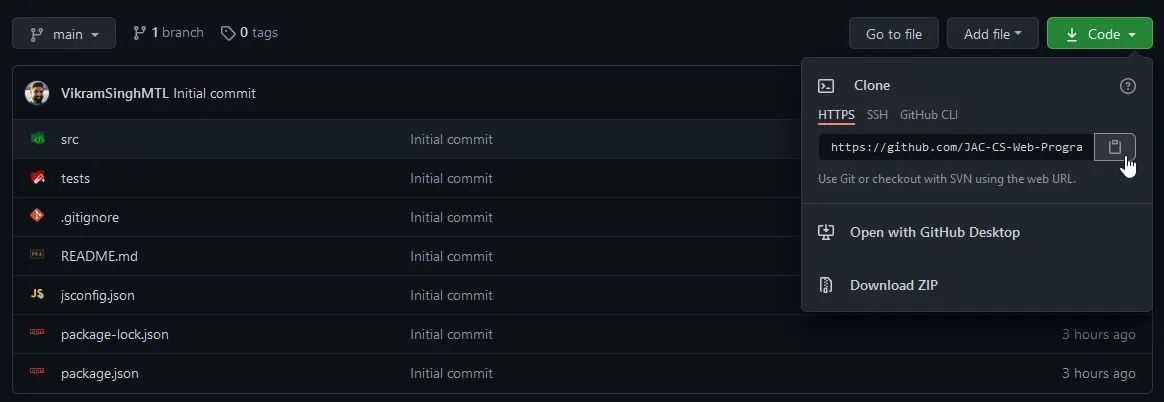
-
Clone the Git repo from the CLI
git clone <paste URL from GitHub>(without the angle brackets) or using a GUI client like GitHub Desktop.- You may have to use the
HTTPSorSSHURL to clone depending on your settings. If one doesn’t work, try the other by clickingUse SSHorUse HTTPSabove the 📋, and copy the new URL.
- You may have to use the
-
Rename the cloned folder to
~/web-ii/exercises/1.2-docker/.Directory1.2-docker
Directory.devcontainer
- devcontainer.json define the development environment
- docker-compose.yml and spin up the containers using Docker.
- .env contains the environment variables required to set up the PostgreSQL database server.
- init.sql contains the database setup script.
Go through each of these files and read the comments I’ve left for you to understand what role each of the files plays when configuring the environment.
-
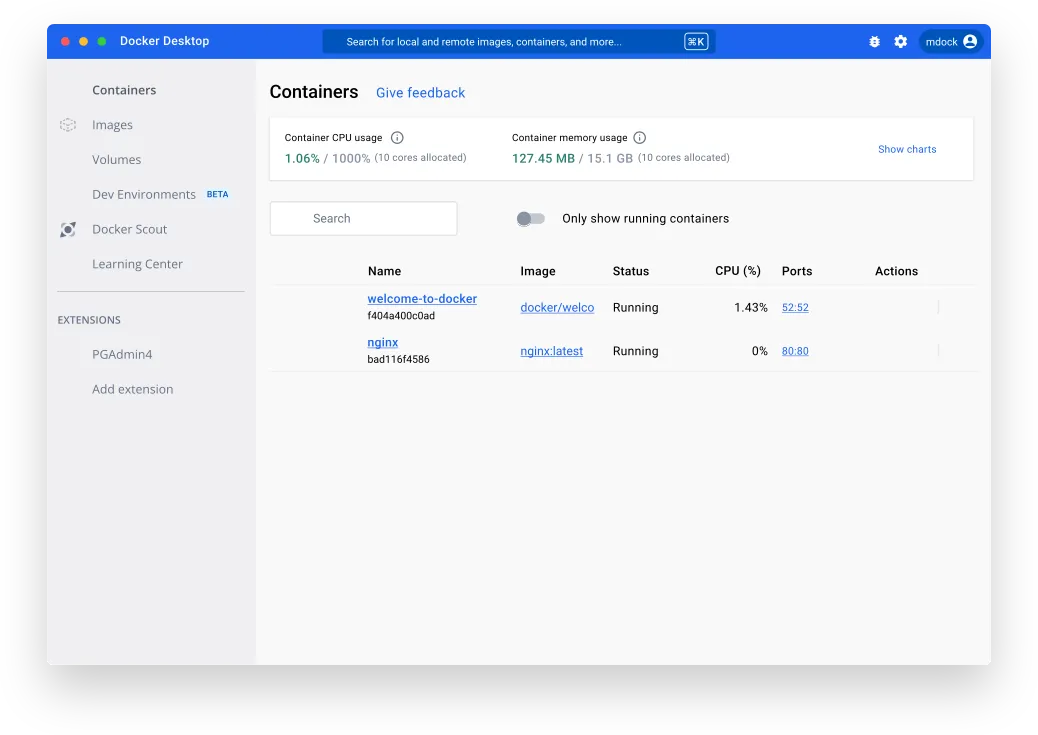
Lastly, make sure the Docker Desktop application is open.
- If you’re running Docker Desktop for the first time, skip all the initial screens and continue without making an account.
- It won’t look exactly like this but this is roughly what you should see when you open Docker:
🔍 Context
Before continuing, make sure to:
- Understand how Docker works.
- Set up your development environment.
🚦 Let’s Go
- In VS Code, open the repo you cloned (
~/web-ii/exercises/1.2-docker/).- Make sure to open the
1.2-docker/folder and not the containingexercises/folder. This is because the.devcontainer/folder needs to be in the root of the project for VS Code to pick up on it.
- Make sure to open the
- Open
.devcontainer/init.sql. - Choose an entity you want to represent in the database and edit the file accordingly.
- For example, you could have a
BookDBthat contains abooktable withauthorandtitlecolumns. - Whatever you choose, make sure you replace all instances of
somethingwith your entity, and replaceattribute1andattribute2with the attributes you chose for your entity, making sure thatattribute1is something that should be unique about your entity. In the example above, that could beauthor. - Save the file once finished.
- For example, you could have a
- Assuming the
Dev Containerextension is installed, hit Ctrl or ⌘ + Shift + P and search forDev Container: Open Folder in Container. Select the folder for this exercise.- On the bottom right you will be prompted to open the logs, please do so in case there are any errors.
- VS Code will then restart and continue spinning up the containers. It will again ask you if you want to open the logs, and you will again do so.
- If all goes well, the logs should stop and you should see a bunch of messages about extensions being successfully installed.
- You should also see
>< Dev Container: Web II @ desktop-linuxin the bottom left corner.
- Open a terminal.
- If a terminal was not already open, hit Ctrl or ⌘ + Shift + `.
- If one was already open, in the header of the terminal panel, click the
+icon which will open a new terminal instance.
- From one of the terminal windows, run
psql. You should see your prompt change to something like this:postgres=#. This means you are now connected to the PostgreSQL server container! - Run
\l(list) to display the list of databases.YourDB(the name will be whatever you named it in step 2) should be one of them if the initial setup script ran successfully. - Run
\c YourDB(connect) to select that database. - Run
\dt(display tables) to display the list of tables. There should be one table with the name that you chose in step 2. - You can now run any DDL/DML operations you want from here. Perform the following operations:
INSERTa new entity.SELECTthe entity that was inserted.UPDATEthe entity to have a different field value.SELECTthe same entity to verify the name was changed.DELETEthe entity.
- Run all 5 operations in sequence and take a screenshot of the output so that I can see all 5 statements were run successfully.
📥 Submission
Submit the screenshot you took to the Moodle dropbox for this exercise.
You’re now ready to use a real deal database for the applications we’ll write in this course! Hopefully you can appreciate that we’re using Docker to run everything database-related. By using containers, we can install and run any application in an isolated environment so that when we’re done, we just have to delete the container. It makes for a very clean developer experience! 😉

Courtesy of Commit Strip.