3 - Views
- 💯 Worth: 7%
- 📅 Due: April 3, 2024 @ 23:59
- 🚫 Penalty: Late submissions lose 10% per day to a maximum of 3 days. Nothing is accepted after 3 days and a grade of 0% will be given.
🎯 Objectives
- Construct Handlebars templates to dynamically render HTML content based on data provided by the server.
- Iterate over arrays of data within Handlebars templates to display lists of items.
- Create HTML forms for user input, configure their submission methods (POST, PUT, DELETE), and handle form data within server-side controllers.
- Use redirects within controllers to control application navigation after form submissions.
- Integrate frontend views with controller actions to build out the core CRUD (Create, Read, Update, Delete) functionality of a web application.
🔨 Setup
- Fork (do not download as a zip) the starter repository from GitHub. Make sure you use the link from Moodle to fork the proper repository.
- Make sure Docker Desktop is open.
- Start the development container in VS Code by using the
Dev Containers: Open Folder in Container...command from the Command Palette (CTRL/CMD+SHIFT+P) and select the cloned directory. - Run
npm installin the terminal to install all necessary dependencies. - Run
npx playwright install --with-deps firefoxto install the necessary browser for the automated tests. Even if you normally use something other than Firefox, I’ve found the tests to be more reliable with Firefox so please don’t change this. - Verify that the database was set up properly by running:
psql -d TodoDBto connect to the database server.\dtto see the list of tables. There should betodosandsubtodos.
- Start the server
npm run serverin a debug terminal so you’re able to use breakpoints in your code. - Start Playwright’s UI mode
npm run test:uiin a debug terminal so you can use breakpoints in the tests if needed. - Open the browser and navigate to
http://localhost:3000to see the application running.
🔍 Context
To complete this assignment, you should be familiar with the following concepts and theories:
- MVC Architecture: Understanding the role of the View in the MVC (Model-View-Controller) pattern.
- TypeScript: Knowledge of basic TypeScript syntax and type system, as well as more intermediate concepts such as partial types, index signatures, generics, and type guards.
- Templating: How to use the Handlebars templating engine to render dynamic content in HTML.
- Forms: How to create and handle form submissions in HTML.
- Testing with Playwright: How to run automated tests using Playwright and debug using the UI mode.
In this assignment, you will be implementing the view layer of your application. The view layer is responsible for rendering the HTML that the user sees in their browser. This is where you’ll create the forms for creating and editing Todos, and the templates for displaying a single Todo and a list of Todos.
View.ts Class
This class represents a view. The view is used to render templates with the given data. It is a singleton class that loads all templates once and then renders them with different data multiple times without having to load all templates upon every request. The view uses Handlebars as the templating engine. It also provides a few helper functions for getting the path to a route, the path to styles, and the path to images should we require that data in our templates. The view is used by the Response class to render (merge) the templates with the given data so that the response can be sent back to the client.
There is only one public method of the View class, render(). It is used to merge a template with the given data. However, you should not be calling this method directly. Instead, you should be calling the send method of the Response class which will call the render method of the View class.
If we have this template:
<h1>{{title}}</h1><ul> {{#each groceries}} <li>{{this}}</li> {{/each}}</ul>We can render it with the following data:
await res.send({ statusCode: StatusCode.OK, message: "Getting the groceries...", template: "GroceryView", // No .hbs extension! payload: { title: "Grocery List", groceries: ["milk", "eggs", "bread"], },});This will render the template with the given data and send back the response to the client:
<h1>Grocery List</h1><ul> <li>milk</li> <li>eggs</li> <li>bread</li></ul>🚦 Let’s Go
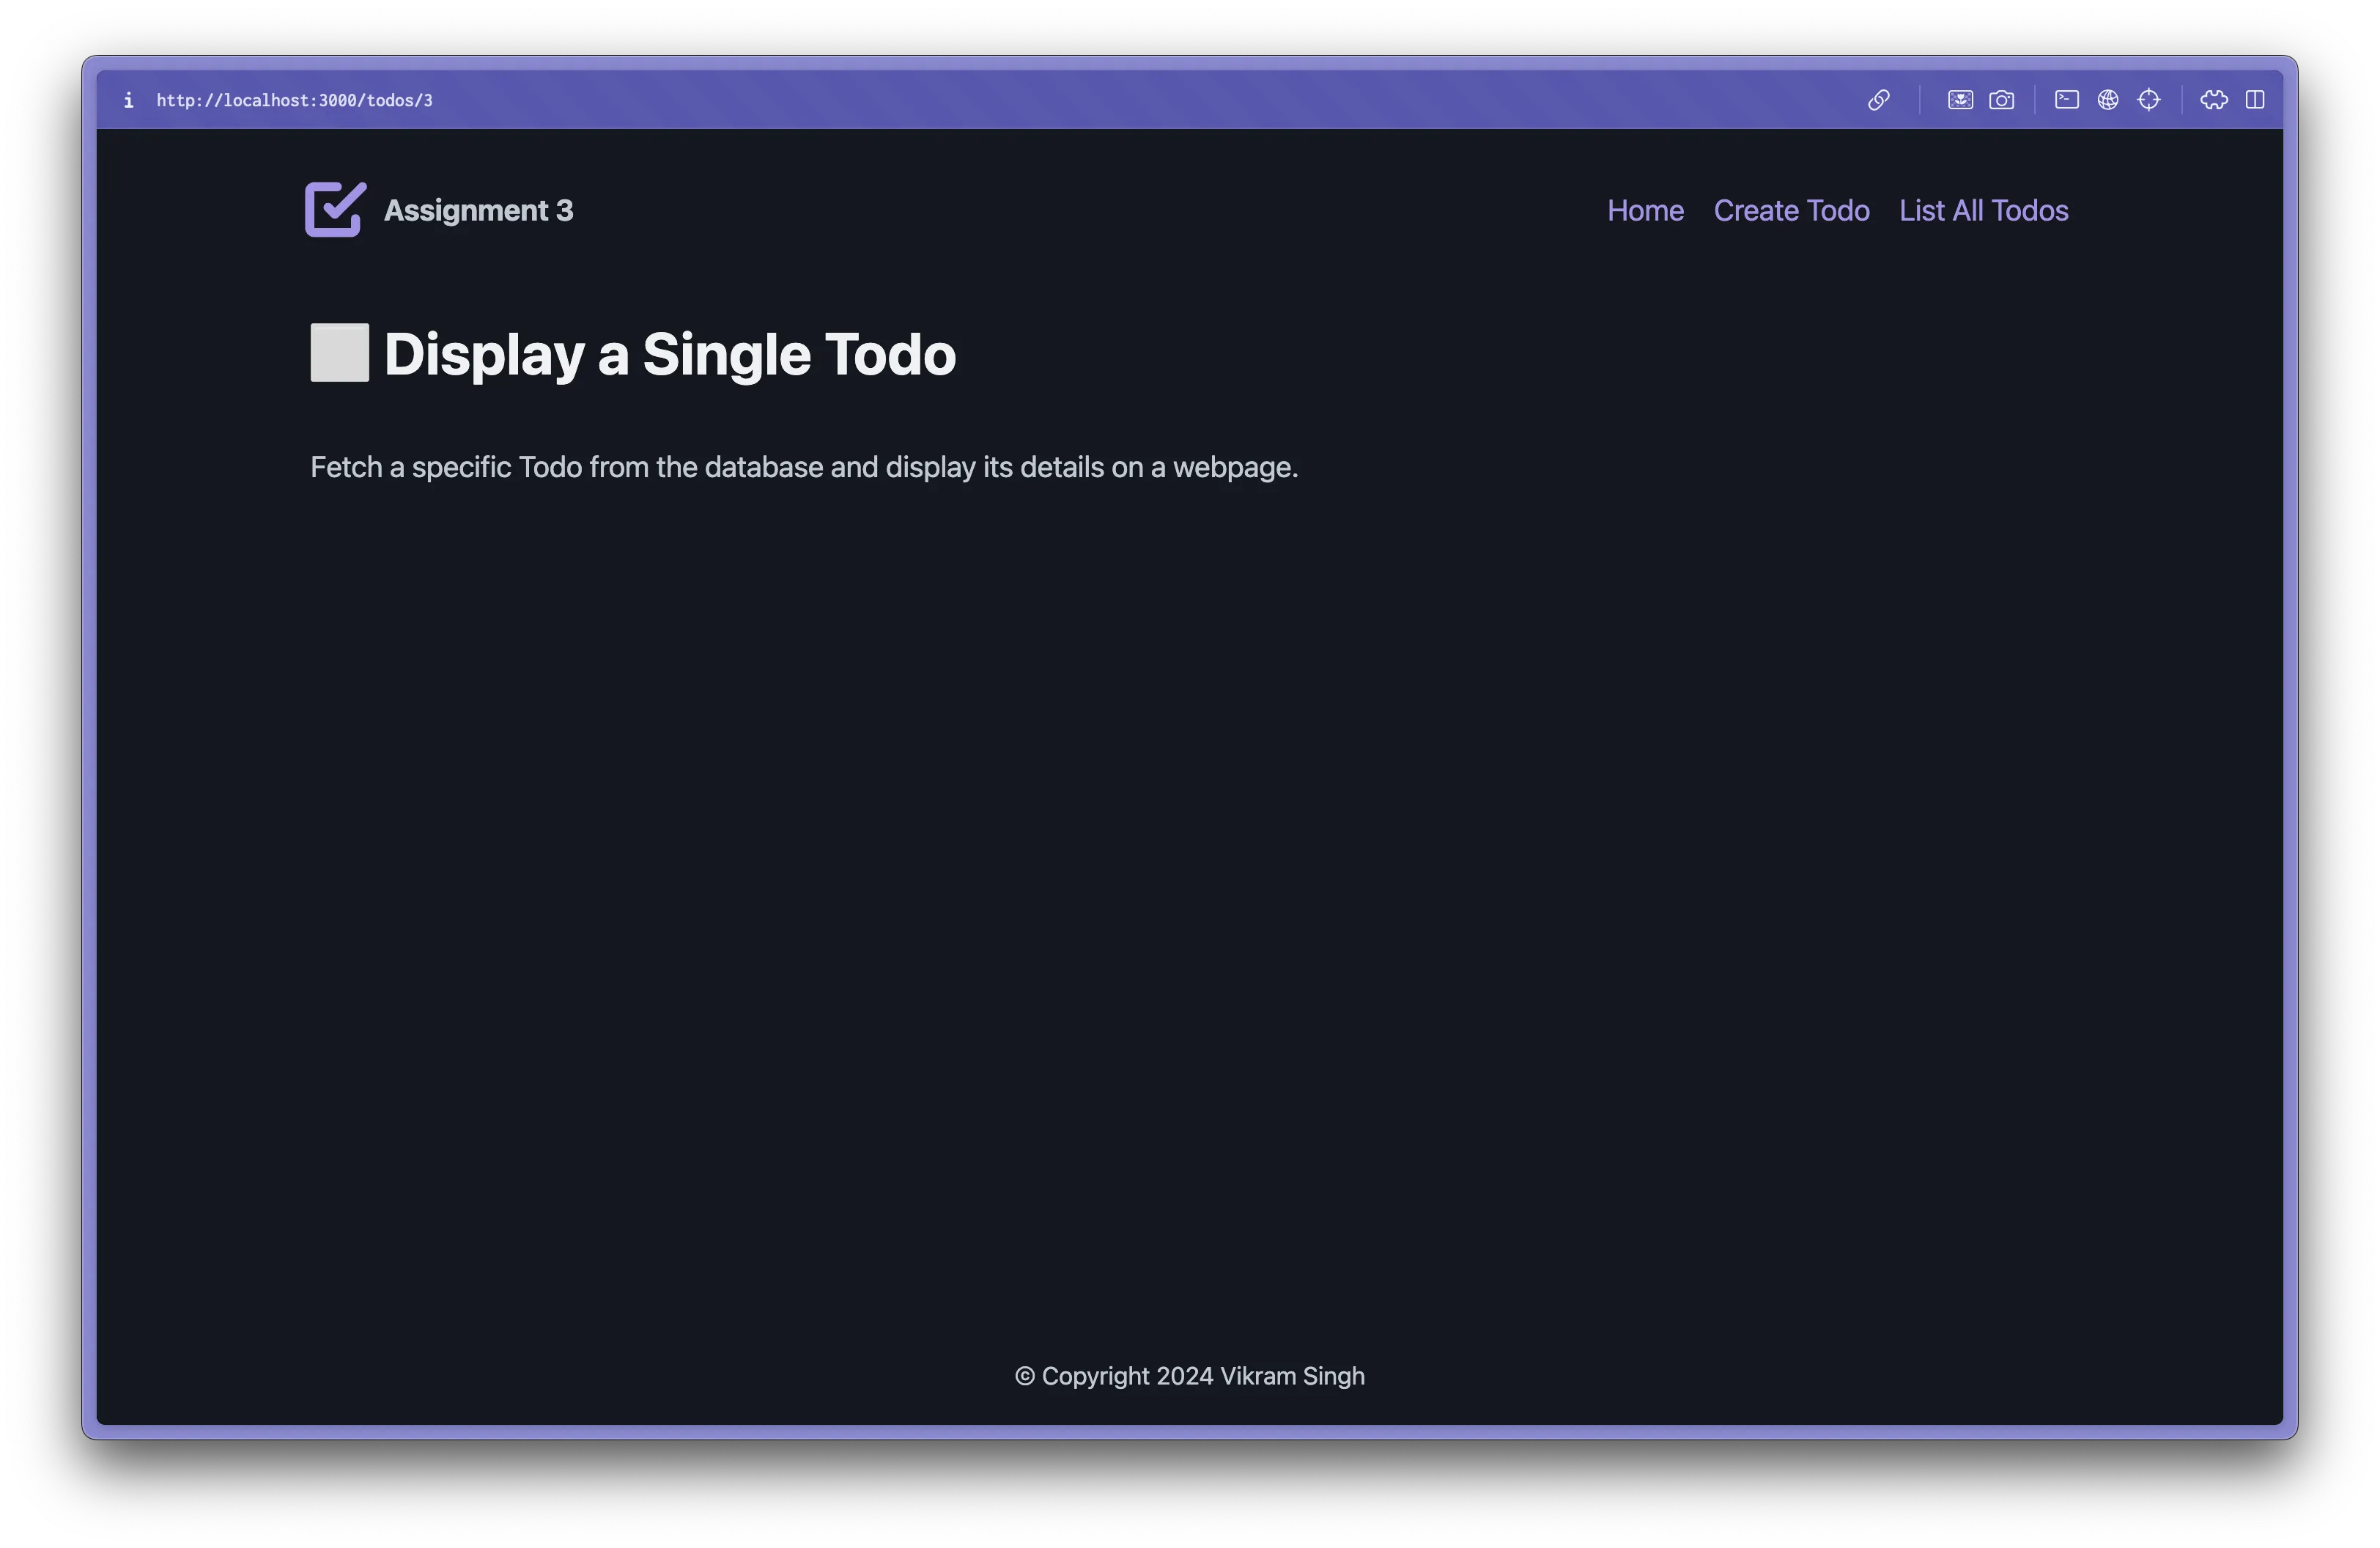
Part 1: Displaying a Single Todo (10%)
Goal: Fetch a specific Todo from the database and display its details on a webpage.
-
Database Preparation:
- Ensure you have at least one Todo item in your database.
- You can add this manually using psql from the terminal and running an
INSERTstatement. - Take note of its unique ID.
-
Controller Logic:
- Currently, the existing
TodoControllermethods only send JSON responses. To send an HTML response using a rendered view, simply provide the name of the Handlebars file (without the.hbsextension) and any data you want to merge with the template inside apayloadobject.
- Currently, the existing
-
Create the Template:
- Inside
ShowView.hbs, display thetitle,description, andstatusof the Todo object passed from your controller. - Structure the HTML to nicely present the Todo information. The organization is totally up to you, however, please adhere to any required IDs that are mentioned in the selectors test file. These are crucial for the tests to pass.
- Inside
-
Testing:
- Visit a URL like
http://localhost:3000/todos/1(replace ‘1’ with the actual ID of your Todo). - You should see the details of your Todo rendered on the page!
- Only once you’re positive after manually testing, run the automated test for the
ShowViewto verify your implementation.
- Visit a URL like
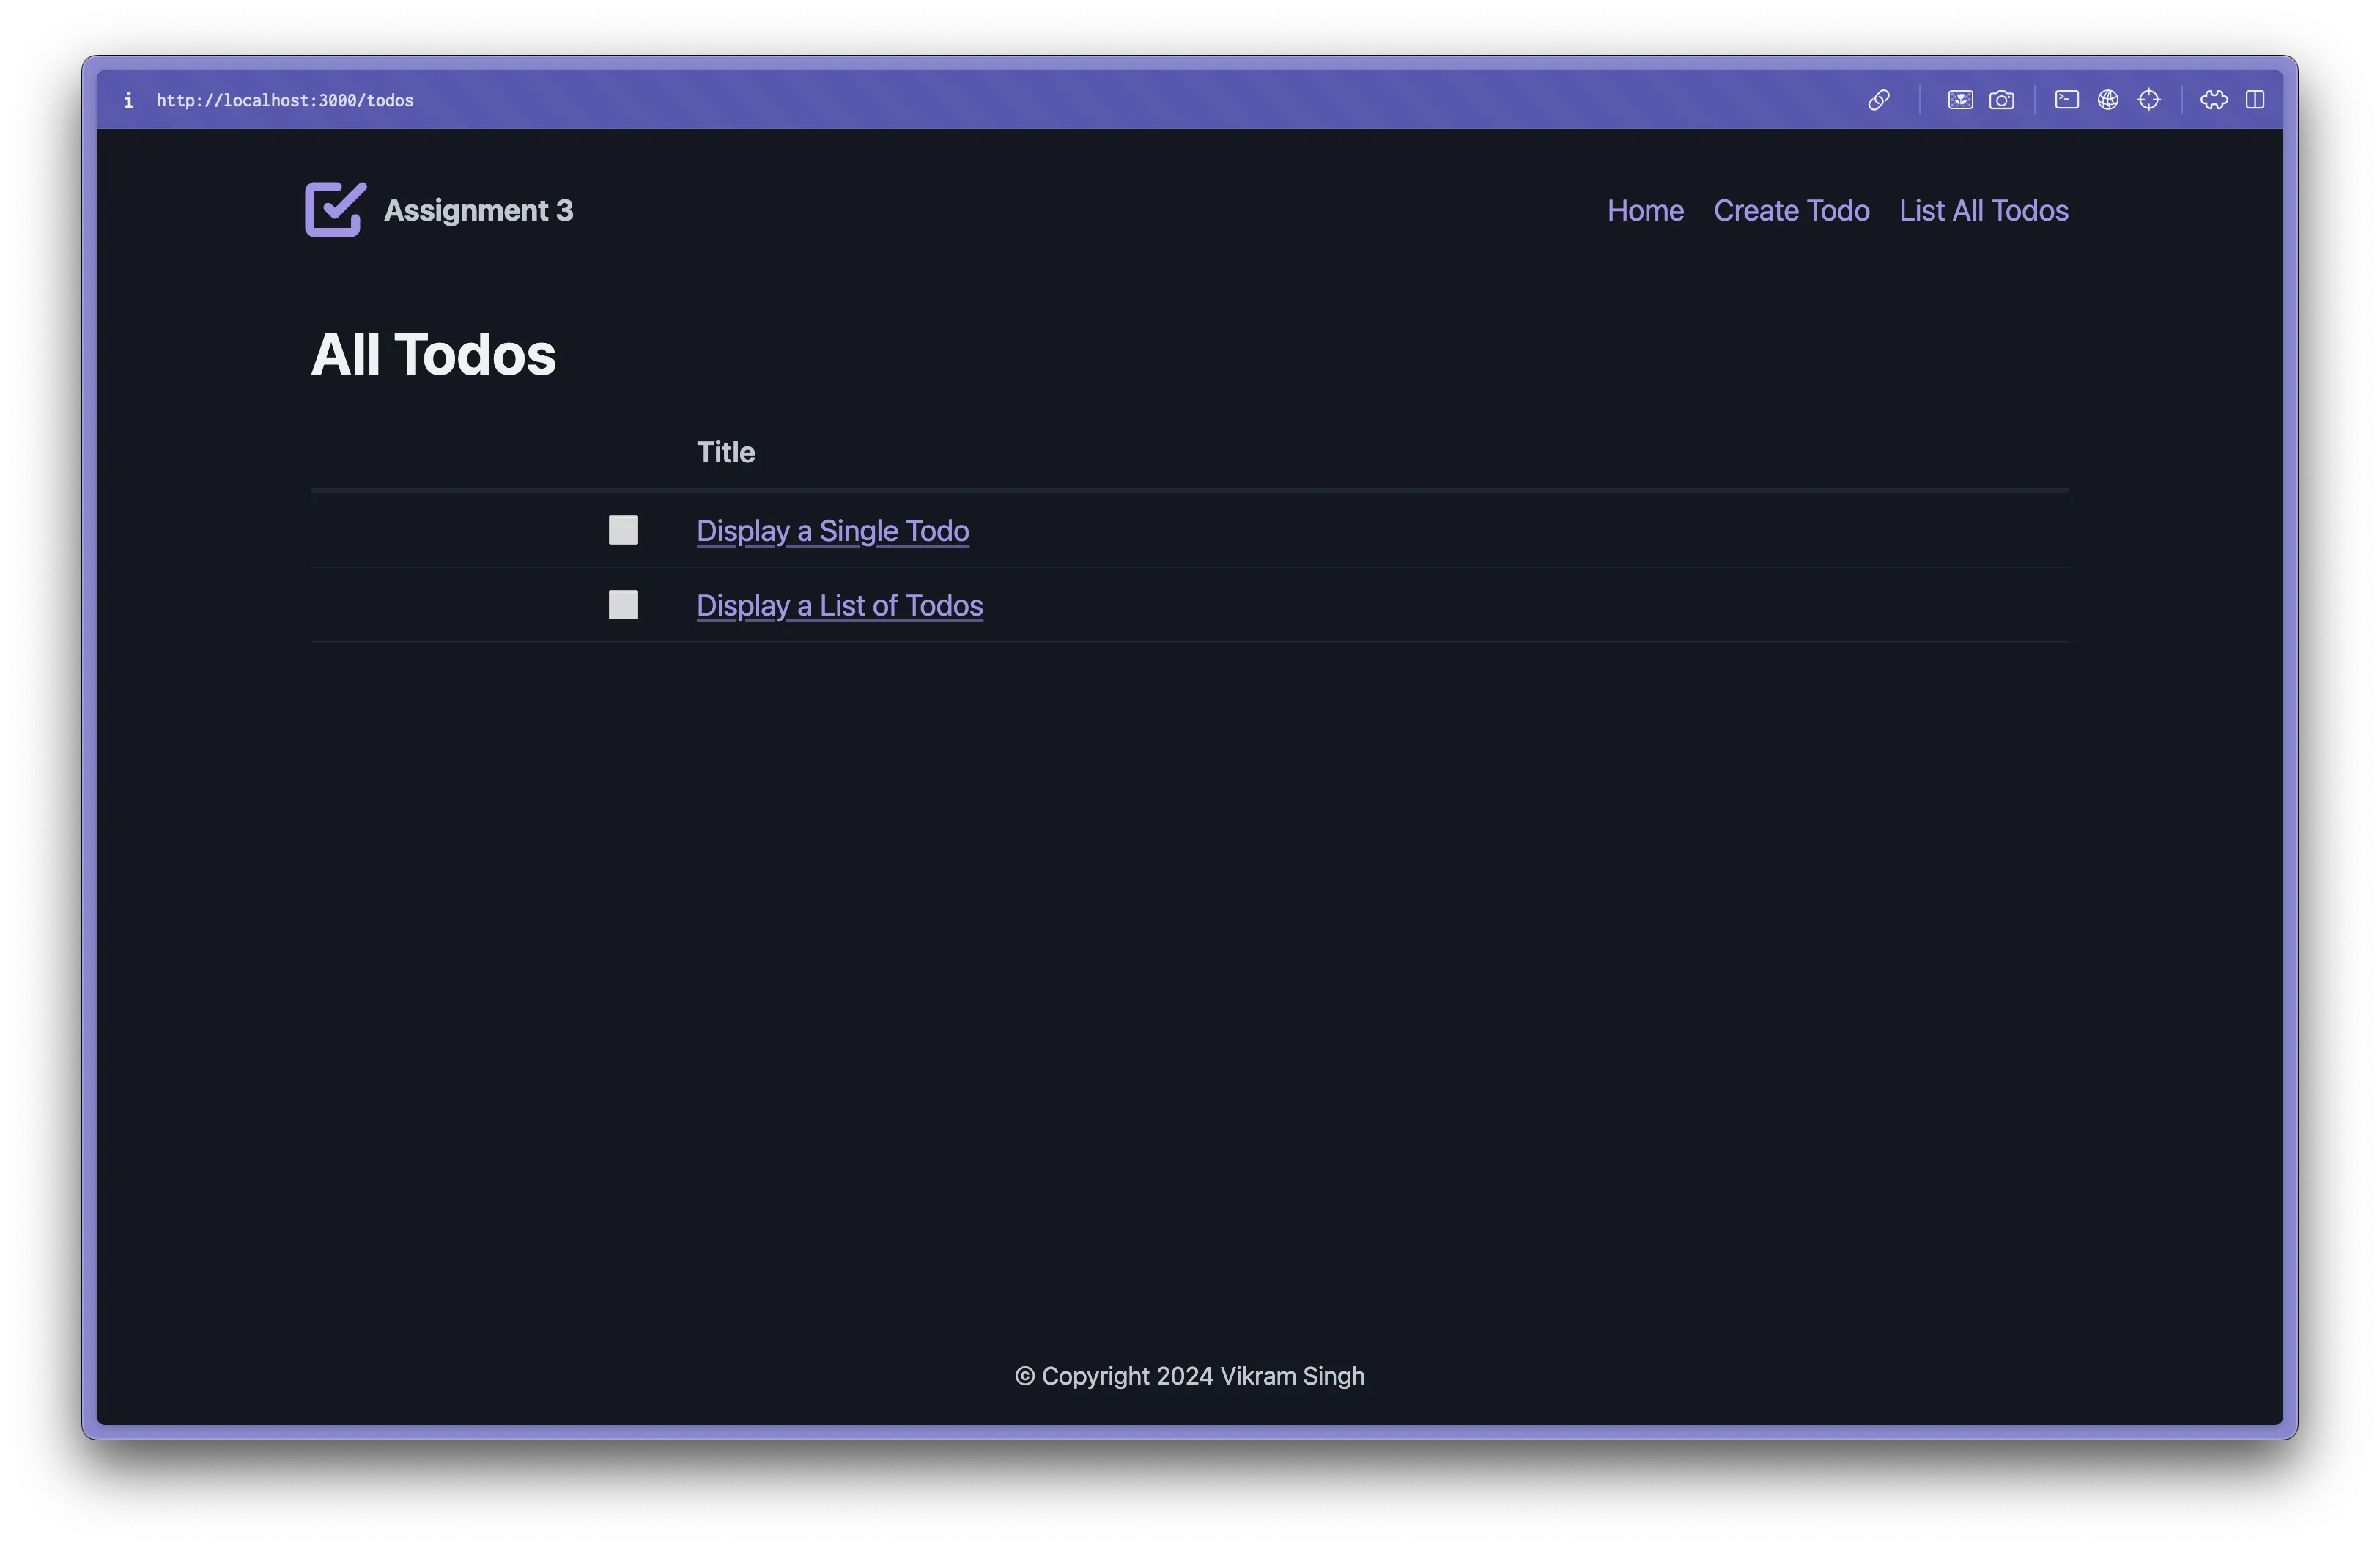
Part 2: Displaying a List of Todos (15%)
Goal: Fetch all of your Todos from the database and display them in a neatly formatted list on a webpage.
-
Database Preparation:
- In addition to the single Todo you created in part 1, add a few more Todos to your database. This will allow you to see how your list view handles multiple items.
-
Controller Logic:
- Just like in part 1, the controller method is already handling
GET /todosand sending a JSON response back. - Pass the array of Todos (ideally, an array of
TodoPropssince the view doesn’t need the full functionality of aTodo) to theListViewHandlebars template.
- Just like in part 1, the controller method is already handling
-
Create the Template:
- Use the Handlebars
{{#each}}helper to iterate over the array of Todos passed from your controller. - Within the
{{#each}}block, create the HTML structure to display each Todo’s information. - Since this is the list view, show less detail per Todo item. At the very minimum, the
titleandstatusshould be displayed.
- Use the Handlebars
-
Testing:
- Visit
http://localhost:3000/todos. You should see a list of your existing Todos! - Again, only once you’re positive after manually testing, run the automated test for the
ListViewto verify your implementation.
- Visit
Part 3: Creating a New Todo (25%)
Goal: Allow users to create new Todos by filling out a form and submitting their input to the server.
-
Create the Template:
- Inside
NewFormView.hbs, create an HTML<form>. - Include the following input fields within the form:
- Title (likely an
<input type="text">) - Description (potentially a
<textarea>).
- Title (likely an
- This form should make a
POSTrequest to/todoswhen submitted. Review E3.2 for a refresher on forms.
- Inside
-
Controller Logic:
- Add a route
GET /todos/newto serve theNewFormView.hbstemplate. - The controller method to handle the
POST /todosroute already- Extracts form data from the request.
- Creates a new Todo in the database using the provided data.
- Sends a JSON response back to the client.
- After a successful creation, you need to redirect the user to the newly created Todo’s ShowView, ex.
/todos/newId. - If the form data is invalid (missing title or description), then render the
NewFormViewagain with an error message adjacent to the form to let the user know what went wrong.
- Add a route
-
Testing:
- Visit
http://localhost:3000/todos/new. You should see your form. - Fill in the form details and submit. You should be redirected, and the new Todo’s page should appear!
- If you submit the form with missing fields, you should see the form again with an error message.
- Again, only once you’re positive after manually testing, run the automated test for the
CreateViewto verify your implementation.
- Visit
Part 4: Editing Todos (25%)
Goal: Provide a way for users to modify existing Todos.
-
Create the Template:
EditFormView.hbsshould be similar to yourNewFormView.hbs, but pre-populated with the existing Todo’s information so that the user can easily make changes.- The
action="/todos/:id"should dynamically include the Todo’s ID. - Use
<input type="hidden" name="method" value="PUT">within the form to work around the lack of native HTML form support for the PUT method.
-
Controller Logic:
- Add a route
GET /todos/:id/editand create a corresponding method in your controller to serve theEditFormView.hbstemplate with the data the form will need to pre-populate the form fields. - After successfully updating the Todo in the database, you need to redirect the user to the updated Todo’s ShowView, ex.
/todos/:id.
- Add a route
-
Testing:
- Manually add a Todo to your database for editing with
psqlor using theNewFormViewyou created in the previous step. - Visit
http://localhost:3000/todos/:id/edit. You should see your edit form with the Todo’s data. - Make changes and submit. You should see the updated Todo!
- Again, only once you’re positive after manually testing, run the automated test for the
CreateViewto verify your implementation.
- Manually add a Todo to your database for editing with
Part 5: Mark Complete (5%)
Goal: Allow users to mark a Todo as complete.
-
Modify the Template:
- You don’t need to create a new view for this part. Instead, add a form to the
ShowViewthat, when submitted, will send aPUT(remember,POSTin disguise 🥷) request to/todos/:id/complete. - How will you show that a Todo was completed? Perhaps showing it with a
strikethrough? A different colour? Using an icon/image ✅? It’s up to you!
- You don’t need to create a new view for this part. Instead, add a form to the
-
Controller Logic:
- After successfully updating the Todo in the database in the
PUT /todos/:id/completeroute handler, you need to redirect the user to the updated Todo’s ShowView, ex./todos/:id.
- After successfully updating the Todo in the database in the
-
Testing:
- Add a Todo to your database with
psqlor using theNewFormView. - Visit
http://localhost:3000/todos/:idand click on the “Mark Complete” button. You should see the updated Todo! - Again, only once you’re positive after manually testing, run the automated test for Todo completion to verify your implementation.
- Add a Todo to your database with
Part 6: Deleting Todos (5%)
Goal: Allow users to delete a Todo.
By this point you should know the drill. Like in the previous part, add the delete form to the ShowView. This way, the user can delete a Todo right from the Todo’s page.
Part 7: Extra Feature (15%)
Choose ONE of the following to implement. You will find commented tests for each of these options at the bottom of browser.spec.ts. You can choose to implement more than one if you’d like, but you will only receive marks for your best one.
Option 1: SubTodos
- Add a form in the
ShowViewto add a SubTodo to the Todo. - List the SubTodos in the
ShowViewbelow the Todo’s details. - Add a form next to each SubTodo to mark it as complete.
Option 2: Date Fields
- Add a
<input type="date">to theNewFormViewandEditFormViewto allow users to set a due date for their Todos. - In the
ShowView, display the due date if it’s set, along with the created date and completed date if the Todo was completed. - Use the date helper functions in
utils.tsto format the dates in a human-readable way. For example, “today”, “yesterday”, “tomorrow”, “3 days ago”, “2 days from now” for all date fields.
Option 3: Filtering & Sorting
Add a form to the ListView that allows users to:
- Filter the list of Todos by status. They should be able to filter by “complete” or “incomplete” status.
- Sort the list of Todos by title, created date, or due date. They can also pick the order (ascending or descending).
💡 Tests & Tips
- The tests will give you an idea about what I’ll be looking for, but I haven’t written tests for every single case. You should be testing your code manually as well. Make sure to use the appropriate partial templates and error views when necessary.
- Ensure the database is being affected how you think it should be by pausing on a breakpoint in your code and running a select statement on the database using
psql. In fact, I advise having three terminals open:psqlnpm run server(debug terminal)npm run test:ui(debug terminal)
- Inside the Playwright UI, you will see the http tests and model tests. Don’t run these with Playwright, instead, run them from the terminal like you did in A1 and A2 (ex.
npm run test -- modelandnpm run test -- http) to make sure you didn’t break anything while implementing the views. - Does the test time out before you’re done debugging? Increase the timeout time inside
playwright.config.ts. - Does the debugger take you through weird code that you didn’t write? Make better use of the “Continue” button. If there are 2 breakpoints you want to hit, for example one in the test and on in the controller, you can set them both and then click “Continue” to hit the second one instead of trying to step over every single line of code.
- Need to know what’s going inside Handlebars? Use
{{ log foo }}to log the value offooto the console. This is a Handlebars helper that will log the value offooto the console when the template is rendered.
📥 Submission
To submit your assignment, follow these steps:
-
Commit your changes to the local repository, for example:
Terminal window git add .git commit -m "Completed ShowView implementation." -
Push your commits to the remote repository:
Terminal window git push -
Submit your assignment on Gradescope.
- Go to gradescope.ca (not .com!), log in, and click the link for this assignment.
- Select the correct repository and branch from the dropdown menus.
- Click Upload.